cobra security camera manual
Cobra Security Camera Manual: A Comprehensive Guide
This comprehensive guide details setup, operation, and troubleshooting for Cobra security systems, including models 63842, 63890, and 1080P weatherproof cameras․
Cobra security systems offer reliable surveillance solutions for homes and businesses, providing peace of mind through advanced technology․ Harbor Freight Tools distributes a range of Cobra systems, from 4-channel wireless setups like the 63842 to more robust 8-channel DVR systems (63890) and modern 1080P weatherproof camera options․
These systems prioritize ease of use, featuring straightforward installation processes and mobile app connectivity for remote monitoring․ Cobra aims to deliver affordable security without compromising on essential features like night vision and recording capabilities․ Accessing detailed owner’s manuals and safety instructions via resources like ManualsLib is crucial for optimal system performance and longevity․
Understanding Your Cobra Security System Model
Identifying your specific Cobra system model is the first step to effective use․ The 63842 is a 4-channel wireless system, typically including two cameras, ideal for smaller properties․ The 63890 is an 8-channel DVR system, often supplied with four cameras, offering expanded recording capacity․
Cobra also provides standalone 1080P weatherproof cameras designed for integration into existing setups or expansion of current systems․ Each model’s owner’s manual, available online, details unique features, port configurations, and optimal usage guidelines․ Knowing your model ensures you access the correct support and maximize your security investment․
Cobra 63842: 4-Channel Wireless System
The Cobra 63842 is a user-friendly, 4-channel wireless surveillance system, commonly packaged with two cameras․ Its key feature is simplified setup, minimizing cabling requirements․ This system utilizes wireless communication between cameras and the DVR, offering flexibility in camera placement․
The owner’s manual details pairing cameras to the receiver, configuring recording schedules, and accessing live feeds․ It supports remote viewing via the Cobra Security app․ While wireless, reliable signal strength is crucial; obstructions can impact performance․ Refer to the manual for optimal antenna positioning and troubleshooting connection issues․
Cobra 63890: 8-Channel DVR System
The Cobra 63890 is an 8-channel surveillance DVR system, typically supplied with four cameras, but expandable to eight․ This system offers a more robust recording capacity and greater scalability compared to the 4-channel model․ It features mobile monitoring capabilities, allowing remote access to live and recorded footage․
The owner’s manual provides detailed instructions on connecting cameras to the DVR, configuring recording settings (resolution, frame rate), and setting up motion detection․ It also covers network configuration for remote access and user account management․ Proper cabling and power connections are essential for optimal performance․
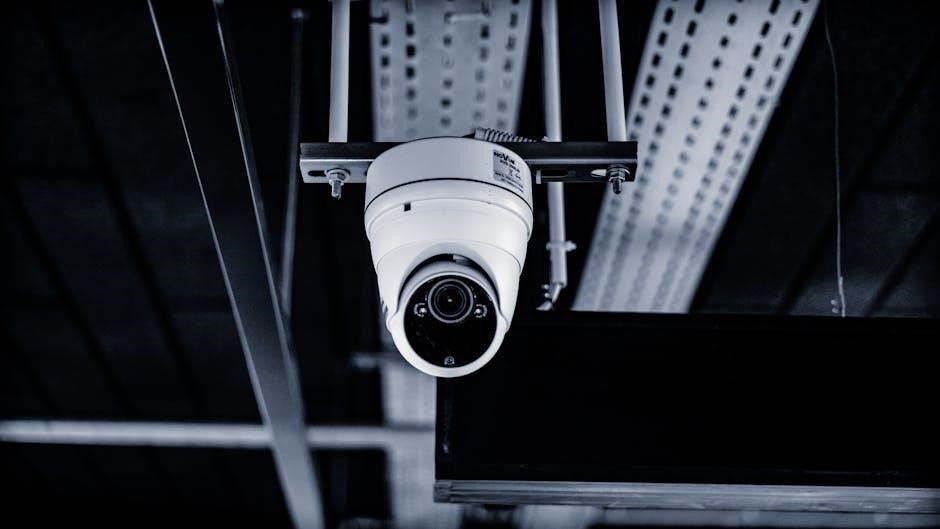
Cobra 1080P Weatherproof Camera System
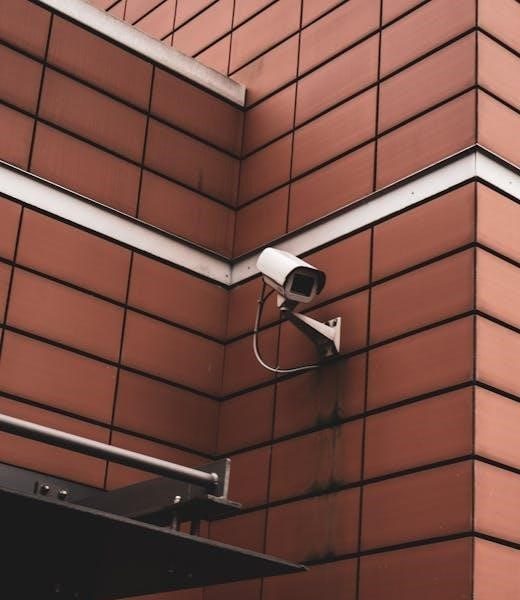
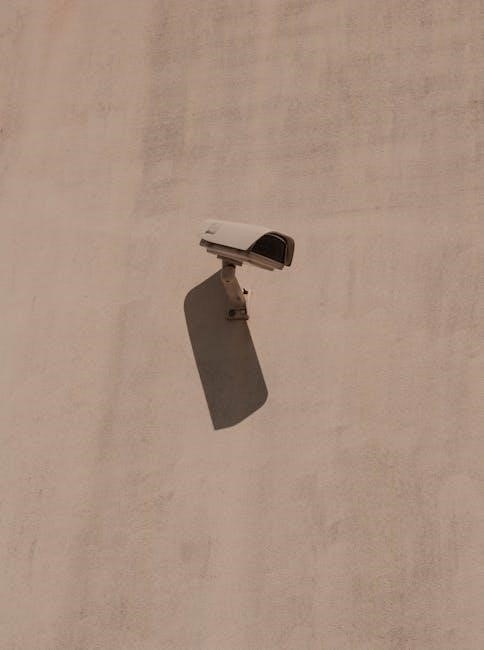
Cobra’s 1080P weatherproof cameras are designed for both indoor and outdoor surveillance, offering clear image quality even in challenging conditions․ These cameras feature night vision capabilities, ensuring visibility in low-light environments․ The owner’s manual details proper mounting techniques to maximize the camera’s field of view and weather resistance․
It also covers essential safety warnings regarding power connections and environmental exposure․ Configuration options include adjusting brightness, contrast, and motion sensitivity․ These cameras integrate seamlessly with Cobra’s NVR systems, providing a complete security solution․
System Components and Overview
Cobra security systems include cameras, an NVR/DVR unit, power adapters, and cabling – each component plays a vital role in comprehensive surveillance coverage․
Cameras: Features and Specifications
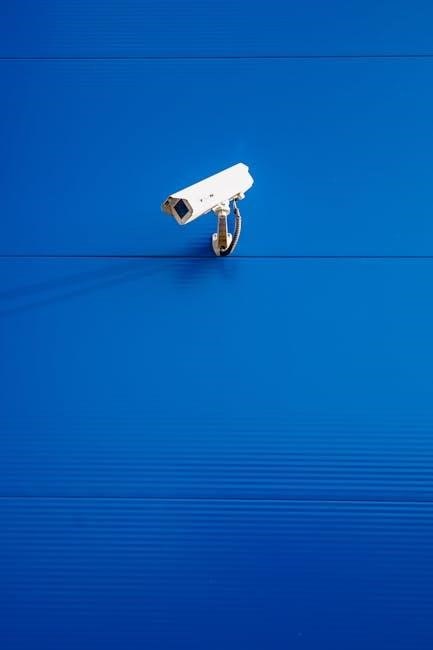
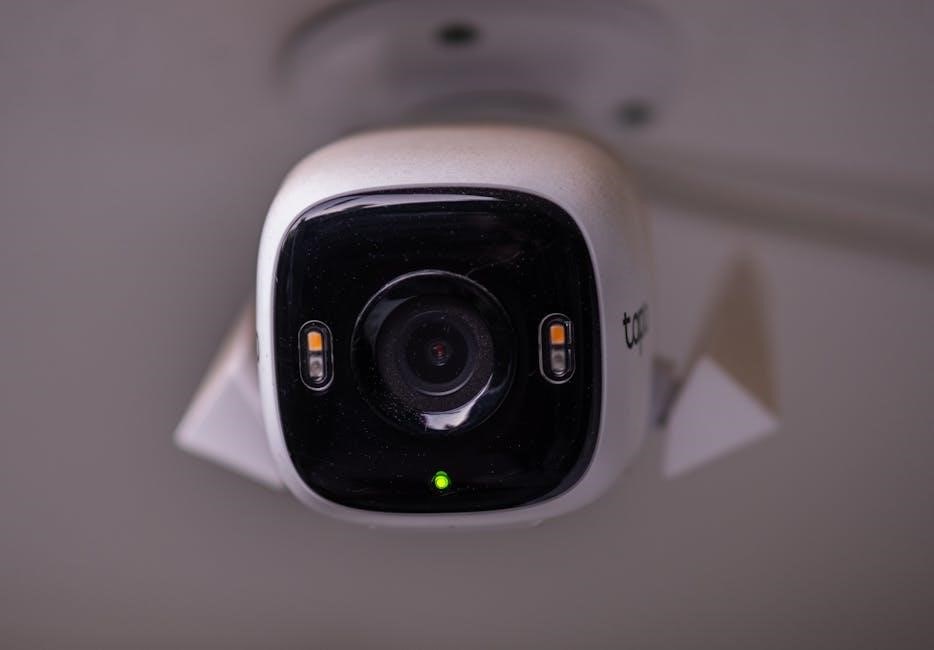
Cobra security cameras boast a range of features designed for reliable surveillance․ Many models, like the 1080P weatherproof camera, offer color imaging and enhanced night vision capabilities for clear footage in various lighting conditions․ Resolution options vary, with some systems now featuring 4K-UHD cameras for exceptional detail․
These cameras are typically weatherproof, ensuring durability against the elements․ Wireless connectivity simplifies installation, while robust construction provides long-lasting performance․ Specifications include viewing angles, recording range, and power requirements, all crucial for optimal system functionality and effective security monitoring․
NVR/DVR Unit: Functionality and Ports
The NVR (Network Video Recorder) or DVR (Digital Video Recorder) is the central hub of your Cobra security system․ These units record and store footage from connected cameras, offering features like scheduled recording and remote access․ The Cobra 63890, for example, is an 8-channel DVR with mobile monitoring capabilities․
Typical ports include HDMI or VGA for monitor connection, USB for data backup, and Ethernet for network connectivity․ Power input and audio in/out ports are also standard․ Understanding these ports is vital for proper setup and expanding your system’s functionality․
Power Adapters and Cabling
Cobra security systems utilize specific power adapters for both cameras and the NVR/DVR unit․ Ensure you use only the provided adapters to avoid damaging the equipment․ Cabling requirements vary by model; some systems are entirely wireless, while others require coaxial or Ethernet cables for camera connections․
Proper cable management is crucial for a clean installation and optimal performance․ Securely connect all cables and protect them from weather exposure if applicable․ Refer to your model’s manual for detailed cabling diagrams and specifications․
Initial Setup and Installation
Begin by mounting cameras in desired locations, connecting them to the NVR/DVR, and then powering up the entire system for initial configuration․
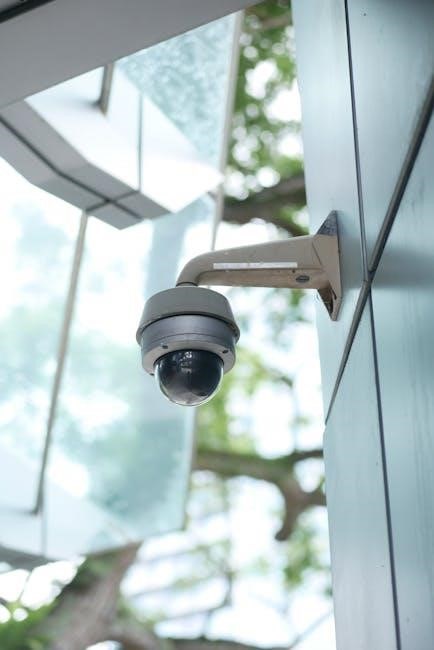
Camera Mounting and Positioning
Proper camera placement is crucial for optimal security coverage․ Select locations offering clear views of entry points and areas of interest, avoiding obstructions like trees or bushes․ Ensure cameras are securely mounted using the provided hardware, considering wall or ceiling options․
Adjust the camera angle to maximize the field of view, minimizing blind spots․ Weatherproof cameras should be positioned to withstand environmental elements․ Regularly check mounting stability, especially after inclement weather․ Consider camera height for optimal viewing and to deter tampering․ Prioritize areas vulnerable to intrusion for enhanced protection․
Connecting Cameras to the NVR/DVR
Establishing a connection between your Cobra cameras and the NVR/DVR is a vital step․ Wireless cameras typically pair automatically during initial setup, following on-screen prompts․ For wired connections, use the provided coaxial cables, ensuring secure attachment to both camera and DVR․
Verify power is supplied to each camera before attempting connection․ The system may require manual camera addition via the DVR interface․ Confirm signal strength for wireless cameras to avoid interference․ Refer to the system’s manual for specific pairing instructions and troubleshooting tips if cameras fail to connect․
Powering Up the System
Correctly powering up your Cobra security system is crucial for optimal performance․ Begin by connecting the NVR/DVR unit to a stable power outlet using the supplied adapter․ Next, connect each camera to its designated power adapter, ensuring a secure fit․
Verify all connections before switching on the main power․ The NVR/DVR should initiate, displaying the live feed from connected cameras․ Allow sufficient time for the system to boot up completely․ If cameras don’t power on, double-check adapter connections and outlet functionality․
System Configuration and Settings
Customize your Cobra system through network setup, user accounts, and recording preferences – adjusting resolution, frame rates, and scheduling for optimal surveillance․
Network Configuration (Wireless & Wired)
Establishing a network connection is crucial for remote access and optimal system functionality․ Cobra systems support both wireless and wired (Ethernet) connections․ For wireless setup, access the NVR/DVR’s network settings via the main menu and select your Wi-Fi network․ Enter the password carefully to ensure a stable connection․
Alternatively, connect the NVR/DVR directly to your router using an Ethernet cable for a more reliable, wired connection․ The system will typically obtain an IP address automatically via DHCP․ If manual configuration is needed, consult your router’s documentation and the Cobra system’s manual for appropriate settings․
Verify connectivity by pinging the NVR/DVR’s IP address from a computer on the same network․
User Account Creation and Permissions
Securing your Cobra security system begins with robust user account management․ Upon initial setup, create a strong administrator account with a unique password․ This account grants full access to all system features and settings․
You can then create additional user accounts with varying levels of permissions․ Assign roles like “Viewer” for limited access to live feeds and playback, or “Operator” for more control over recording schedules and settings․
Regularly review and update user accounts and passwords to maintain system security․ Avoid using easily guessable information and enable two-factor authentication if available․
Recording Settings: Resolution, Frame Rate, and Schedule
Optimizing recording settings is crucial for balancing storage space and video quality․ Cobra systems allow adjustments to resolution (e․g․, 1080P, 4K), impacting file size and clarity․ Higher resolutions demand more storage․
Frame rate (FPS) determines the smoothness of motion in recordings; higher FPS captures more detail but increases file size․ Configure a recording schedule to specify when cameras record – continuous, motion-activated, or time-based․
Experiment with these settings to find the best balance for your needs, considering available storage and desired video quality․
Mobile App and Remote Access
The Cobra Security App enables remote viewing, playback, and notifications․ Download the app for iOS or Android to connect and control your system from anywhere․
Downloading and Installing the Cobra Security App
To begin remote access, download the Cobra Security App from either the Apple App Store (for iOS devices) or the Google Play Store (for Android devices)․ Search for “Cobra Security” – ensure it’s the official app to avoid potential security risks․
Once located, tap “Install” and allow the app to download and install on your smartphone or tablet․ After installation, tap “Open” to launch the app․ You will likely be prompted to grant certain permissions, such as access to your camera and notifications; these are necessary for full functionality․
Follow the on-screen instructions to create an account or log in if you already have one․
Connecting to Your System Remotely
After successfully installing and launching the Cobra Security App, you can connect to your system remotely․ Open the app and log in using the account credentials you created during the initial setup․ The app will guide you through the process of adding your security system․
Typically, this involves scanning a QR code located on your NVR/DVR unit or manually entering the device’s serial number․ Ensure your smartphone or tablet is connected to a stable Wi-Fi or cellular data network․
Once added, your system will appear in the app’s device list, allowing live viewing and control․
Mobile App Features: Live View, Playback, and Notifications
The Cobra Security App unlocks a suite of powerful features for remote monitoring․ “Live View” provides real-time streaming from your cameras, allowing you to instantly check your property․ “Playback” enables reviewing recorded footage, searching by date and time to pinpoint specific events․
Crucially, the app delivers customizable “Notifications”, alerting you to motion detection or other triggered events․ Configure push notifications to receive instant alerts on your smartphone, ensuring you’re always informed about activity around your home or business․
These features offer comprehensive control and peace of mind․
Troubleshooting Common Issues
This section addresses frequent problems like “No Picture,” camera connectivity failures, and remote access difficulties, offering solutions for a smoothly functioning Cobra system․
No Picture on Screen
If you encounter a blank screen, first verify the power supply to both the NVR/DVR and the cameras․ Ensure all cables are securely connected – check the video input/output connections and power adapters․ Confirm the monitor is powered on and set to the correct input source․
Next, cycle power to the entire system: disconnect power, wait 30 seconds, and reconnect․ Check camera status lights; a blinking light may indicate a power or connection issue․ Within the DVR/NVR menu, verify the cameras are properly added and enabled․ If issues persist, try a different monitor or HDMI/VGA cable to rule out those components as the source of the problem․
Camera Not Connecting
When a camera fails to connect, begin by checking its power connection and ensuring it’s receiving adequate power․ Verify the wireless signal strength (if applicable) and reduce any potential interference from other devices․ Within the NVR/DVR interface, attempt to manually re-add the camera, following the pairing instructions carefully․
Confirm the camera’s IP address isn’t conflicting with another device on your network․ A factory reset of the camera might resolve connectivity issues, but will require re-configuration․ Check for firmware updates for both the camera and the NVR/DVR, as these often include bug fixes․
Remote Access Problems
If you’re experiencing remote access issues, first verify your internet connection is stable and functioning correctly․ Double-check the username and password used within the Cobra Security app, ensuring they are entered accurately․ Confirm that port forwarding is correctly configured on your router, allowing external access to the NVR/DVR․
Ensure the Cobra Security app is updated to the latest version․ A firewall on your router or network might be blocking access; temporarily disable it for testing․ Contact your internet service provider to confirm there are no service outages impacting connectivity․
Safety Instructions and Warnings
To ensure safe operation, always disconnect the power supply before servicing or cleaning the Cobra security system․ Avoid installing cameras in locations exposed to extreme temperatures or direct sunlight, as this can damage components․ Do not attempt to disassemble or repair the NVR/DVR unit yourself; contact qualified personnel for assistance․
Keep the system and accessories out of reach of children․ Ensure all cables are securely connected to prevent tripping hazards․ Follow all local electrical codes during installation․ Improper installation can lead to electric shock or fire․
Related Posts
canon 5d mark 4 manual
Unlock the full potential of your Canon 5D Mark IV! Download the official manual & master every feature. Pro tips, troubleshooting & more – start shooting brilliantly today! **Canon 5D Mark IV**

how to open automatic gate manually
Automatic gate not opening? Don’t panic! Our easy-to-follow guide shows you how to safely release & open your gate manually. Get back in quickly!
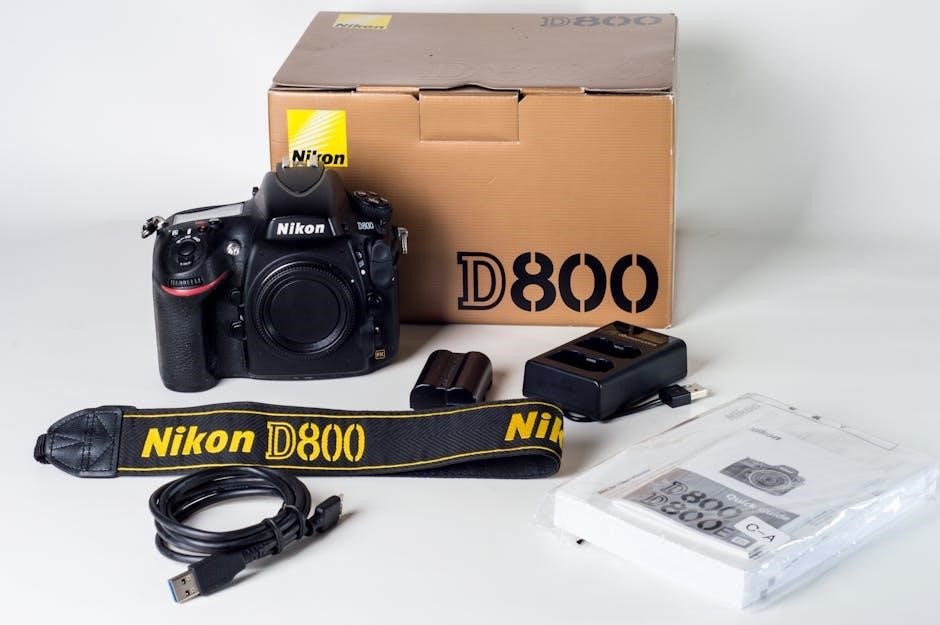
www vivitar com user manual
Lost your Vivitar camera manual? Don’t stress! We’ve got a huge collection of free downloadable manuals for all your vintage & modern Vivitar cameras. Find your **user manual** now!